North Cascades Alpine Climbing Foundations Seminar
North Cascades
Alpine Climbing Foundations Seminar
Single:$1699 / person
Intermediate
North Cascades, Washington
5-Days
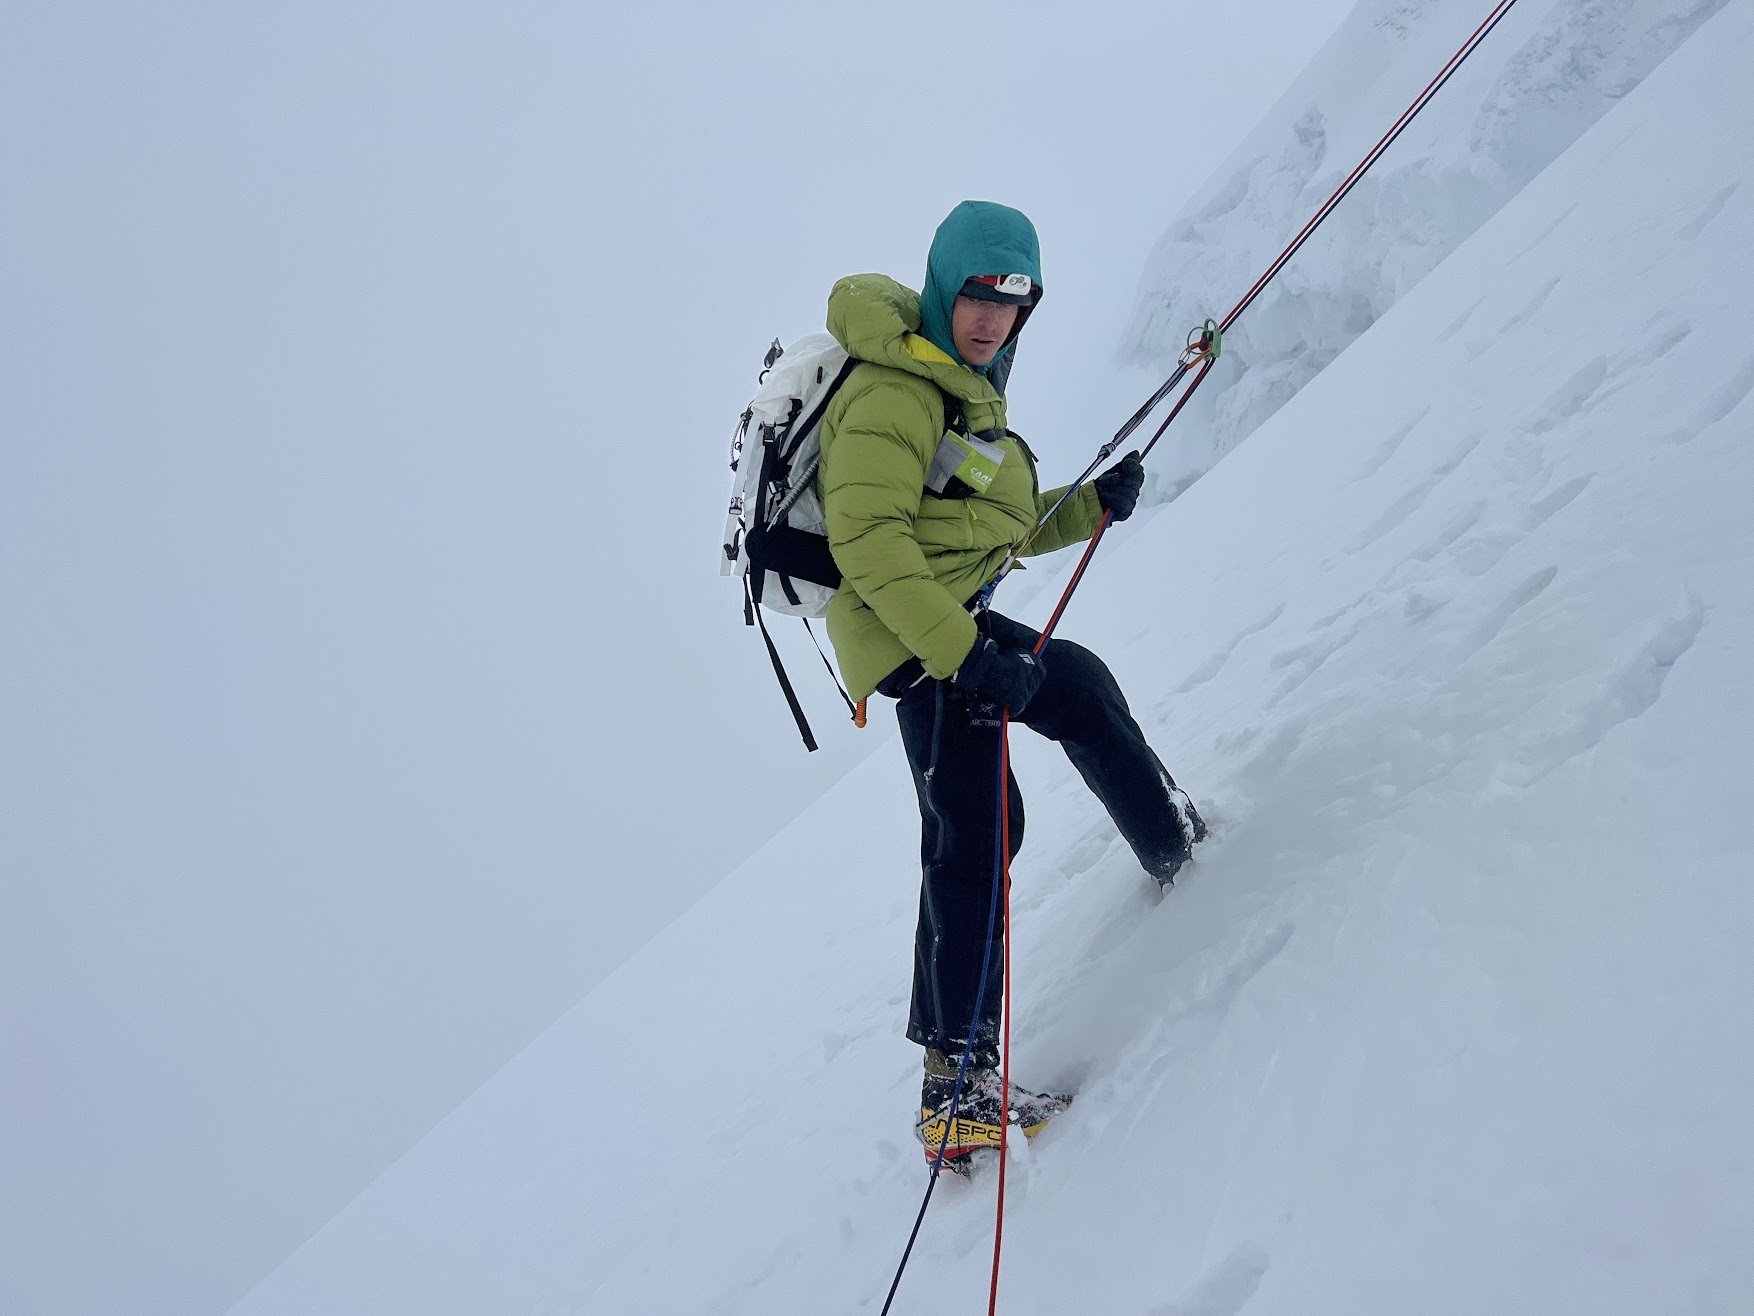
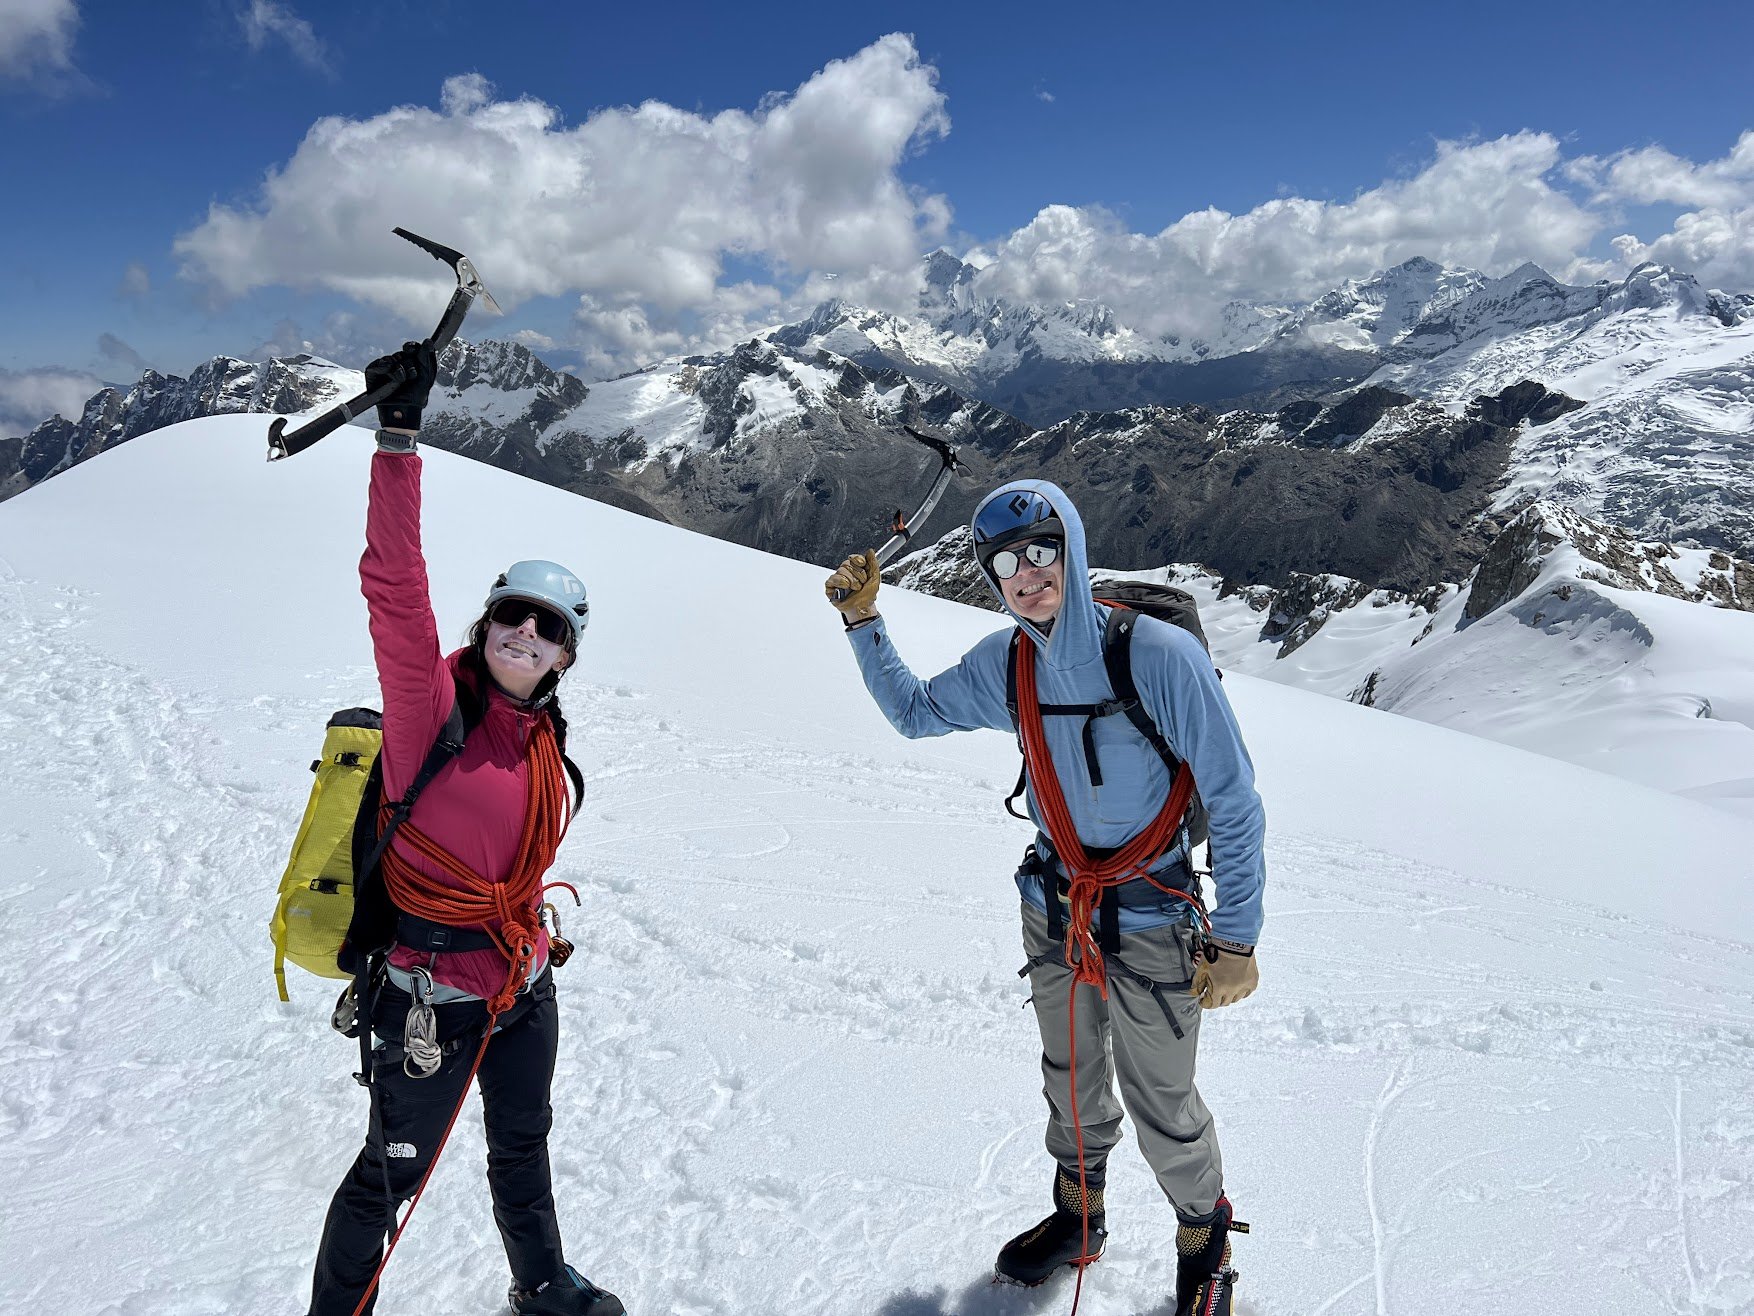
This course, taught in the rugged glaciated environments of the North Cascades, is designed for climbers who are interested in developing skills in mixed, rock, and steep snow terrain needed to accomplish longer and harder alpine routes.
We spend all five days in the alpine, spending nights in tents and bivies, enjoying the quiet and solitude of the wilderness. Each day will be full of instruction and climbing — see below for course objectives.
-
-July 14-18_ Full
Add our Advanced Alpine Climbing Seminar!

-
This course is taught in the rugged glaciated environments of the North Cascades and is designed for climbers who are interested in developing skills in mixed, rock, and steep snow terrain needed to accomplish longer and harder alpine routes.
We’ll spend all five days in the alpine where the team will spend the nights in tents, enjoying the quiet and solitude of the wilderness. Each day will be full of instruction — see below for course objectives.
This seminar aims to introduce topics which will allow students to push into alpine climbing terrain.
Topics can include:
-multi-pitch alpine rock climbing techniques inlcuding, belay techniques, rappelling, and rope management
-Rock, snow and ice anchor selection, anchor construction, equalization, and use of intermediate protection for lead climbing
-Moderate and steep snow and ice climbing, crampon usage techniques, and proper application of combined skills in a variety of terrain
-Ice axe positioning, self arrest, and balance positioning
-Glaciology and crevasse pattern prediction
-Roped glacier travel, rope team management, route finding, and crevasse navigation
-Crevasse self-rescue techniques (prussiking) and team crevasse rescue techniques
-Hazard assessment including: discussion of objective vs. subjective hazards, assessment of avalanche danger, crevasse fall, rock and ice fall dangers
-Discussions will include proper clothing and climbing gear for survival in the high mountains, mountain weather, alpine ecology, efficient, competent and self-dependent climbing techniques, and Leave No Trace ethics
-
This course takes place in the North Cascades on Peaks such as Mt. Shuksan, Eldorado Peak, Forbidden Peak, and others throughout the Cascades.
Pre Couse Trip Call:
When the roster is full- the team will meet with their guide via Google Meet to discuss gear selection for the course, meet our new teammates, and discuss the seminar, answering any questions the group has.
Evening Before:
Meet at a local park close to the North Cascades, in Sedro-Woolley, to do a gear prep overview and packing techniques, then go to a local eatery for a pre-trip team dinner. This gives students time to grab any last-minute course items.
Day One:
The team meets at the established trailhead, makes any small adjustments to the kit, and then takes a stroll to our alpine destination’s base camp.
An integral part of mountaineering and expeditionary climbing is being able to set up a protected and secure camp in an extreme environment. As a group, we’ll practice these skills. Guides discuss the importance of personal maintenance, hygiene, sleeping in cold environments, and Leave No Trace principles, as well as address any student concerns.
Finally, instructions on proper hydration, including efficient snow-melting protocols, nutrition, and backcountry cooking techniques will be addressed.
We will also start the technical learnings at camp by refreshing and developing rope work skills: coiling, storing, and changing the length of the climbing rope for glacier travel.
Day two:
After breakfast we head out for a short glacier tour, winding our way through seemingly bottomless crevasses in both classical and echelon formations. Here, the emphasis is on proper rope interval, shortening and lengthening the rope, communication, route finding, and hazard assessment.
On the glacier, we will find a secure spot to introduce and review snow anchors and then test those anchors till failure. All student anchors will be weighted, so we make sure they’re good! With plenty of anchors to pick from we start building the foundations of snow belays and rappelling, with lots of practice!
Finally, the team will either move positions to a new area or stay in the same location and go over crevasse rescue, focusing on independent team rescue and aiding and assisting techniques of an outside party.
Day Three:
Now we switch over to the rock and start to develop our alpine rock climbing skills which includes practicals and demonstrations on:
-Use of placing active and passive
-Alpine anchor building using natural features and artificial protection.
-Terrain management including short-pitching and belays while also introducing “hornology”.
*Potential mini summit possible
Day Four:
At this point, students should have made the transition to becoming valuable members of a rope team and the group is now ready to push higher into the mountains. Depending on conditions and weather, we’ll either use this day to go for a summit objective in the zone, which we discuss the evening prior OR focus on bringing all the skills together in an alpine objective without a summit, depending on needs.
The most important skills we’ll learn are how to prepare, plan, and execute the summit climb of a classic alpine route. By developing a route plan, assessing the hazards, preparing one’s summit pack, and climbing and descending competently through glaciers and seracs to a rocky Cascadian summit, we understand where our capabilities are and what still needs work.
This is a demanding day, both physically and mentally, which provides great training for more advanced objectives students may encounter later in their climbing careers.
Day Five:
Review of skills that need more attention in the morning then finally, we break down camp following our Leave No Trace principles and hike back down to the trailhead.
It is often customary to have a group meal back in the first town we come to and celebrate five great days spent in the mountains!
-
NORTH CASCADES: GETTING THERE
North Cascades National Park, Washington State is located 2 hours Northeast of Seattle. The Pacific Northwest is beautiful and thriving both in its cities and its parks. Make sure you plan to spend some time in town before and after your SMG trip. Bellingham and even closer Sedro-Woolley serve as the launching points for all of our climbs in North Cascades National Park.
The best option for flying to the area is through Seattle, WA. Many airline options exist, and because Sea-Tac is a major airport and Seattle a major travel destination there are typically many flights to choose from.
You will need to organize a rental car to drive to Bellingham or Sedro from Seattle. Typically in the summer months, you can choose any type of vehicle.
There are many great hotels, suites, and vacation rentals for you to stay in while you’re in the area. Give our office a call at 410-982-8282 if you have any questions about what would suit you best for this trip! Below are just a few options catering to different lodging styles and preferences in Bellingham:
VRBO
Sedro Woolley also has a number of great hotels, suites, and vacation rentals for you to stay in while you’re in the area. Give our office a call at 410-982-8282 if you have any questions about what would suit you best for this trip!
Three Rivers Inn Hotel

-
FOOTWEAR
+Sticky Rubber Approach Shoes Optional for the
hike to highcamp
+Socks
UPPER LAYERS
+Synthetic T-shirt
BOTTOM LAYERS
GLOVES/HATS
+Buff
BACKPACKS
+45-55L Hike-in and Climbing Pack (one-pack option)
ACCESSORIES
+Sunglasses, Sunscreen, Lip Balm, Sun Hat
+Nalgene, Minimum 1.5L
+Climbing Snacks: 100 calories an hour!
CAMPING KIT
+Bivy Bag
EQUIPMENT
+Belay Device w/Locking Carabiner
+3 Additional Locking Carabiners
+120cm Sewn Sling w/ Non-Locker
+Autoblock Cord w/ Non-Locker
+Small Rack Cams .3- #2
+Small Assortment of Wedges
+6 Alpinedraws
Smile Mountain Guides can supply rock climbing gear including helmets, harnesses, ropes, cams, slings, carabiners, belay/rappel devices, ice axes, and crampons. *We do not provide alpine boots
-
BREAKFAST (~300 – 600 CALORIES) X 4
Having a hot breakfast is important, especially in cold weather environments. Most climbers go with instant or quick-cooking hot cereals like oatmeal or Cream of Wheat, or dry cereals and powdered milk mixed with hot water. All of these meals taste better and provide more calories when fortified with dried fruits, nuts, honey, butter, and even chocolate chips! Tastier (and heavier!) breakfast ideas are included below.
For your course, you should have 4 breakfasts. About half of these should be basic meals to decrease weight on the mountain and the remaining can be more luxurious. Don’t forget your hot drinks!
Breakfast Ideas
– 1 cup of granola + freeze-dried fruit + 3 tablespoons of powdered milk mixed with hot water
– 2 packs of instant oatmeal + dried fruit + nut butter
– Dehydrated breakfast meal (check serving and calories)
– 2 packs of instant grits + bacon crumbles + cheese + butter + salt and pepper to taste
– 2-4 powdered eggs + 4-6 strips precooked bacon + tortilla
LUNCH (~800 – 1600 CALORIES) X 5
Lunch begins just after breakfast and ends just before dinner. It is the most important meal of the day and needs to have enough variety to keep you happy over your trip. Continuous eating of small quantities will keep up your energy levels for the whole day, especially on big travel/summit days where we will be on the move for 8 hours or more.
For your course, you need lunch food for 5 days. Determining the amount of lunch food to bring is difficult to gauge on your first mountaineering expedition. General guidelines are given below. The rule many guides work with is the weight of your lunch food should be equivalent to the weight of your breakfast and dinner food added together.
Each day it’s nice to have a “real” food item. You may consider some of these tasty sandwich/wrap combinations:
1. Start with a hearty bread product: flatbread, bagel, naan, flour tortilla, croissant, or pita pocket
2. Add protein: hard cheese, Laughing Cow cheese wedges (no refrigeration needed), cured meat, black beans or hummus, nut butter (we like Trail Butter because it comes in a squeeze pouch), tuna pouch, or smoked salmon
3. Add flavor/texture: dried fruit, chips, hot sauce, mustard, or pesto. Also consider, a hearty pre-made sandwich, leftover pizza, or a burrito for the first day of the course
In addition, pack snack foods to supplement any sandwiches or wraps, such as:
– Nuts (cashew and almonds personal favorite – can buy in 1lb quantities at Trader Joe’s)
– Jerky – beef, turkey, bacon, salmon, and tofu jerky are all great options
– Dried fruit (Trader Joe’s has an excellent selection prepackaged by weight)
– Peanut butter filled pretzel chunks
– Trail mix
– Cheese sticks/squares
– Plantain chips
For summit day or big travel days (approximately 2 on a 3-day course) focus on energy-rich food. On these days we travel for roughly an hour between breaks. At each break, you should be eating 200-300 calories (or about 1 energy bar). These days can have 4-8 breaks. These foods include:
– Energy bars – focus on bars with real ingredients. We love Probars, Pure Organic, Kit’s Organic, Larabar, and Chia Bars. If you are ambitious, try making your own!
– Energy chews (Shot Bloks or the like)
– GU’s, Cliff Shots, etc.
– Candy bars (Snicker’s are a favorite of most climbers)
– Gummy bears
DINNER (~800 – 1200 CALORIES) X 4
For the greatest preparation and cooking ease, freeze-dried food is an option. Usually, these foods only require adding boiling water and are ready within minutes. Downsides to freeze-dried food are the cost, an increase in single-use packaging which must be packed out, uninteresting flavors or textures, gut issues from poorly re-hydrated meals, constipation, etc.
With slightly more effort but vastly reduced cost, any supermarket can be tapped for a wide variety of wilderness-ready prepared foods. Items like Knorr rice or pasta entrees in envelopes cook in 5 to 10 minutes, and are very tasty. It is best if you experiment ahead of time at home so that you know which you prefer. For those with a culinary creative streak, very tasty meals can be made up from scratch with only a minimum of additional effort. Items such as quick brown rice, quick or instant white rice, bulgur, instant precooked or dried beans, dehydrated vegetables, packaged or bulk sauce mixes, smoked salmon, exotic cheeses, and whatever spices and herbs you like or want to experiment with can be combined for tasty meals.
You will need 4 dinners for your course. Many guides bring soup packets, like instant miso soup, for each meal (unless the meal is already soup-based). These make great pre-dinner hot drinks and help us hydrated. Don’t forget your hot drinks!
Dinner Ideas
– 1 packet instant ramen noodle soup + sweet and spicy jerky (shredded) + parmesan cheese + dehydrated vegetables
– 1 pre-pouched Indian Meal (we like Tasty Bites) + boil in the bag rice + coconut oil (vegetarian/vegan depending on meal choice)
– 1 box mac and cheese + sundried tomatoes + tuna packet + red pepper flakes
– 1 box cous cous + sundried tomatoes + pine nuts + chunks of salami
PREPARATIONS FOR THE ALPINE CLIMBING FOUNDATIONS PROGRAM
Technical Experience
Technical climbing experience is required for this seminar. Students will not need an understanding of the skills taught in the program but should have a well-developed understanding of multi-pitch systems, knots, belaying, and leading skills.
Fitness
Excellent physical fitness is required. Climbers must be able to hike and climb for many hours while carrying a pack. Training for Advanced Alpine Climbing is a great fitness program to develop a strong alpine climbing base. Movement and fitness become necessary to management risk. The more physically fit guests are for the program, the better equipped they are to learn new skills and information.
Meet The Team
FAQ’s
Alpine Climbing Foundations Seminar
The answers to our most commonly asked questions for the alpine climbing foundations seminar.
-
PRICE INCLUDES
+Guide fees (2:1 climber-to-guide ratio)
+Park fees
+Group equipment such as ropes, snow and ice protection etc.
+Liquid fuel for white gas stoves (canister fuel is available for purchase)
+Group cook craft items
+SMG Buff
+Camp Tents/Shelters
PRICE DOES NOT INCLUDE
+Personal equipment (see Gear List)
+Transportation
+Meals – Part of our ethic is to teach self-sufficiency in the mountains, which includes backcountry cooking. See our suggested Food Plan Below.
+Hotels/lodging in Seattle, Bellingham, or Sedro-Woolley
+All expenses incurred in the event of early departure (evac fees, extra hotel nights, etc.)
+Trip cancellation insurance
-
Smile Mountain Guides provides the following gear.
Technical:
+Helmets
+Harness
+Ice Axe
+Crampons
+Ropes and Glacier Travel Tools
Camping:
+Tents
+Group Stoves
+Critter Bear Bags
Smile Mountain Guides does not provide alpine climbing boots for this program, food and personal kitchen items, water bladders, and clothing needed to be comfortable in the mountain environment.
-
Smile focuses on small groups and ratios that meet the professional mountain guiding standard. These programs have a 4:1 ratio and we can accommodate a maximum group size of 8 climbers with 2 guides.
-
Please click here to review our domestic cancellation policy.
-
Yes! A large portion of our business is designed around custom adventures. Please email, climb@smilemountainguides.com if you would like to make this adventure custom.


